astro 博客模板安装与 dev.to 集成指南
本文将指导您安装 Astro 博客模板,并使用 Astro 5 的内容层 API 将 Dev.to 文章集成到您的网站中。
第一步:安装 Astro 博客模板
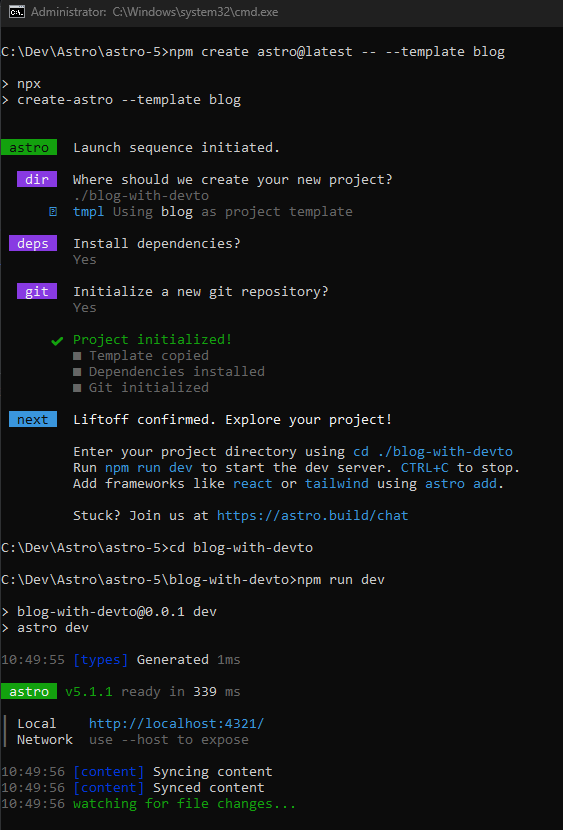
使用 npm 命令安装最新版本的 Astro 并使用博客模板:
1
npm create astro@latest -- --template blog
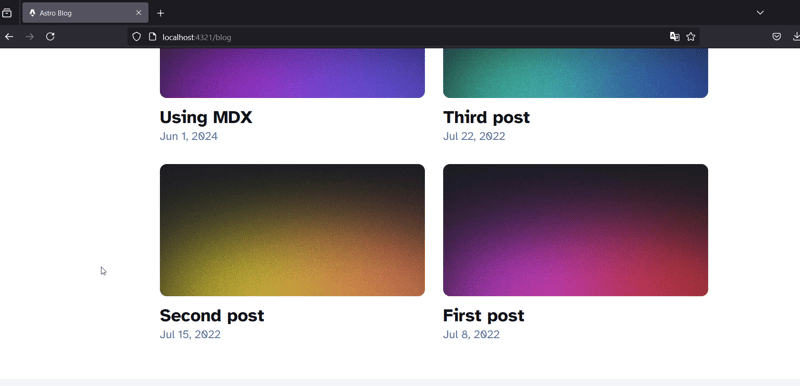
第二步:启动开发服务器
运行以下命令启动本地开发服务器:
1
npm run dev
第三步:使用内容层 API 集成 Dev.to 文章
Astro 5 引入了内容层 API,允许您从各种来源加载数据。我们将利用它来集成 Dev.to 文章。 由于 Dev.to 没有预置的加载器,我们需要创建一个自定义加载器。
3.1 配置 Dev.to API 访问
首先,您需要在您的 .env 文件中配置 Dev.to API 密钥:
1
2
DEV_TO_API_URL=https://dev.to/api/
DEV_API_KEY=your_api_key // 请替换为您的 Dev.to API 密钥
在 src/lib/ 目录下创建一个名为 getArticles.js 的文件,并添加以下函数:
1
2
3
4
5
6
7
8
9
10
11
const { DEV_TO_API_URL, DEV_API_KEY } = import.meta.env;
export async function fetchArticles() {
const res = await fetch(`${DEV_TO_API_URL}articles/me/published`, {
headers: {
"api-key": DEV_API_KEY,
},
});
const data = await res.json();
return data;
}
3.3 定义内容集合
在 src/content.config.ts 文件中,使用内容层 API 定义一个名为 devTo 的集合:
1
2
3
4
5
6
7
8
9
10
11
12
13
14
15
16
17
18
19
20
21
22
23
24
25
26
27
28
29
30
31
32
33
34
import { glob } from astro/loaders;
import { defineCollection, z } from astro:content;
import { fetchArticles } from ../lib/getArticles;
const blog = defineCollection({
loader: glob({ base: ./src/content/blog, pattern: **/*.{md,mdx} }),
schema: z.object({
title: z.string(),
description: z.string(),
pubDate: z.coerce.date(),
updatedDate: z.coerce.date().optional(),
heroImage: z.string().optional(),
}),
});
const devTo = defineCollection({
loader: async () => {
const articles = await fetchArticles();
return articles.map((article) => ({
id: article.id.toString(),
slug: article.slug,
body: article.body_markdown,
data: {
title: article.title,
date: new Date(article.published_at),
tags: article.tag_list,
summary: article.description,
image: article.social_image,
},
}));
},
});
export const collections = { blog, devTo };
现在,您就可以在您的 Astro 模板中使用 devTo 集合来显示 Dev.to 文章了。 记得替换 your_api_key 为您实际的 Dev.to API 密钥。 更多关于 Astro 内容层 API 的信息,请参考官方文档: https://www.php.cn/link/97e9882d23181feae2e14566db2e63aa
以上就是测试开发的详细内容,更多请关注php中文网其它相关文章!